when i decided to DIY a lot of the elements of our wedding, i had thought i would go all out and make my own DIY letterpress wedding stationary. i even found this amazing post over at
"the paper place" by Luke Pauw about how he created his amazing looking DIY letter pressed invitations. i really thought i would be doing just that, but reality is, do i have the time? no (i've got three jobs and still go to school part time!). do i have the money to buy all the equipment for the letter pressing? well it's not THAT expensive, but still ... no! plus, we are really only having a very small and intimate celebration with a handful of my closest friends and family, why waste so much money in such little things. after banding the idea of DIY letterpress, i thought of making a custom stamp instead. it's much cheaper and less time consuming, but still it seems so much of a hassle to design the stamp, send it to the stamp making company to have it made and ship to me then hand stamped each invite and mail it by post. so in the end, i decided i would still DIY my stationaries for our wedding, but I would do it digitally, which I thought I would never do in the beginning of the planning, and then send out my invitation via facebook and email instead of post.
it's at least a couple hundred bucks that we've saved but yet we've still got a DIY invitation. though it might not appear to be amazing to you but it sure did to me, for it was a lot of hard work to put together what we've created and it was a DIY project that Roy was highly involved as well (in the design decision making part of things of cause).
i looking around on wedding blogs for ideas and inspirations and i found
"oh so beautiful paper", a blog that focus on wedding invitations and also a post from
"a practical wedding" about how to print you own wedding invitation. through them i also found some online invitation design companies, such as
"a printable press" and
"thomas printers" that custom make wedding invitations and only send you the jpg. file of the invitation so that allows you to either print them out at your own cost or send out in digital forms. they still cost you some money of cause, but definitely not nearly as much as a set of custom made letterpress invitations. but i wasn't looking for any fancy over the top design, so spending $80 for a simple invite still seems a lot to me, and so what i did was found the design that like the most, follow the pattern and put together something simple myself on microsoft publisher. to make my invite a bit more custome made, i also downloaded different fonts from
dafont.com and customised the colours so they match our wedding colour. and ... then ... tata ... here is our wedding invitation!!!!!!

 for our vancouver celebration i created another set of invitation the same way as i did with my hong kong invitation with a slight change in style. the hong kong invitation it's more classic and vintage while the vancouver invitation is more modern and chic.


 the first step is to iron on the adhesive to the back side of the farbic. make sure you follow the instructions of the adhesive's packing and don't over heat it. once the adhesive is cool, iron both sides of the fabric together so there is no wrong side of the flags (this is important if you are only making garlands and not message flags).
  the next step is to use the template, a ruler and a fabric cutter to cut out the flags.
  like this!


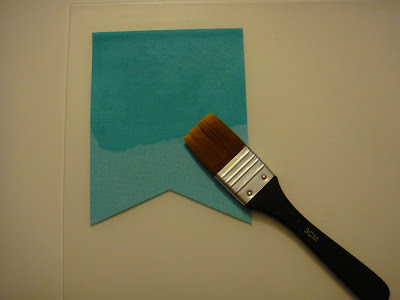 and let em' dry
 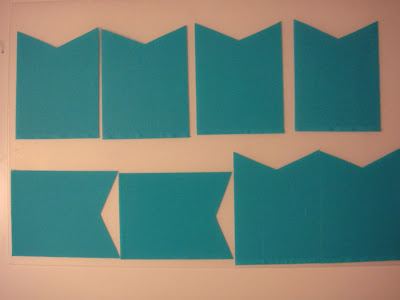 while waiting for your flags to dry, print out some letters for your message (i chose THANK YOU for mine here)

 like this


 and done!


