 this is yet another DIY post of something that i've made for the wedding. this time it's all about the signs. signs can be used as a part of decoration, or it could simply use as a "sign". i've made about three of these for my wedding, two of which are more for photography purposes and one is more for decoration. and here's how it's done.
 first you'll need all the supplies: fabric (i've got the blue for the backing and the white for the letters), iron-on adhesive and an iron also a template, some thread and needle, a hole punch, siccors, farbic cutter, pins, and fabric stiffener 

 the first step is to iron on the adhesive to the back side of the farbic. make sure you follow the instructions of the adhesive's packing and don't over heat it. once the adhesive is cool, iron both sides of the fabric together so there is no wrong side of the flags (this is important if you are only making garlands and not message flags).
  the next step is to use the template, a ruler and a fabric cutter to cut out the flags.
  like this!
 then, if you would like your flags to be nice and stiff, apply some fabric stiffener

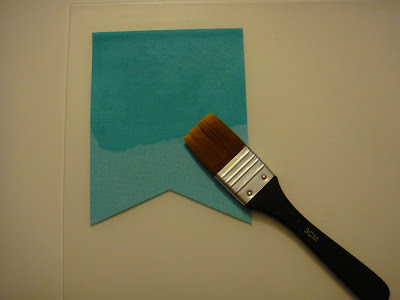 and let em' dry
 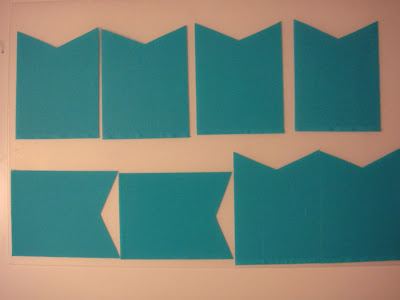 while waiting for your flags to dry, print out some letters for your message (i chose THANK YOU for mine here)
  iron on some adhesive onto the white fabric
  then use the letter template as a trace and cut them out individually
  like this
  once the flags are dried, iron them again on low-medium heat to get all the wrinkles out, if there’s any. Then peel the paper backing of the adhesives off the letters you just cut out, position the letter however you like it on the flag and iron the letter on with medium heat
  Once you’re done with all the letters then you can start punching holes. for this project, i’ve used a single handheld vertical hole punch. if you are using paper instead, regular hole punch would work just fine.
  punchin’
  done punchin'!
  the last step is to sew the flags together. i used baker’s twine for this project to add more color.
  and done!
 Thank you for reading!


